Friday 28 November 2014

The Wardrobe

No Lion or Witch

The requirements by the DVLA for having the V5 document changed are as follows -


  • A bed, which is an integral part of the living quarters which has a minimum length of 1800mm or 6 feet. This can be converted at night from seats used for other purposes during the day but must be permanently fixed within the body of the vehicle.
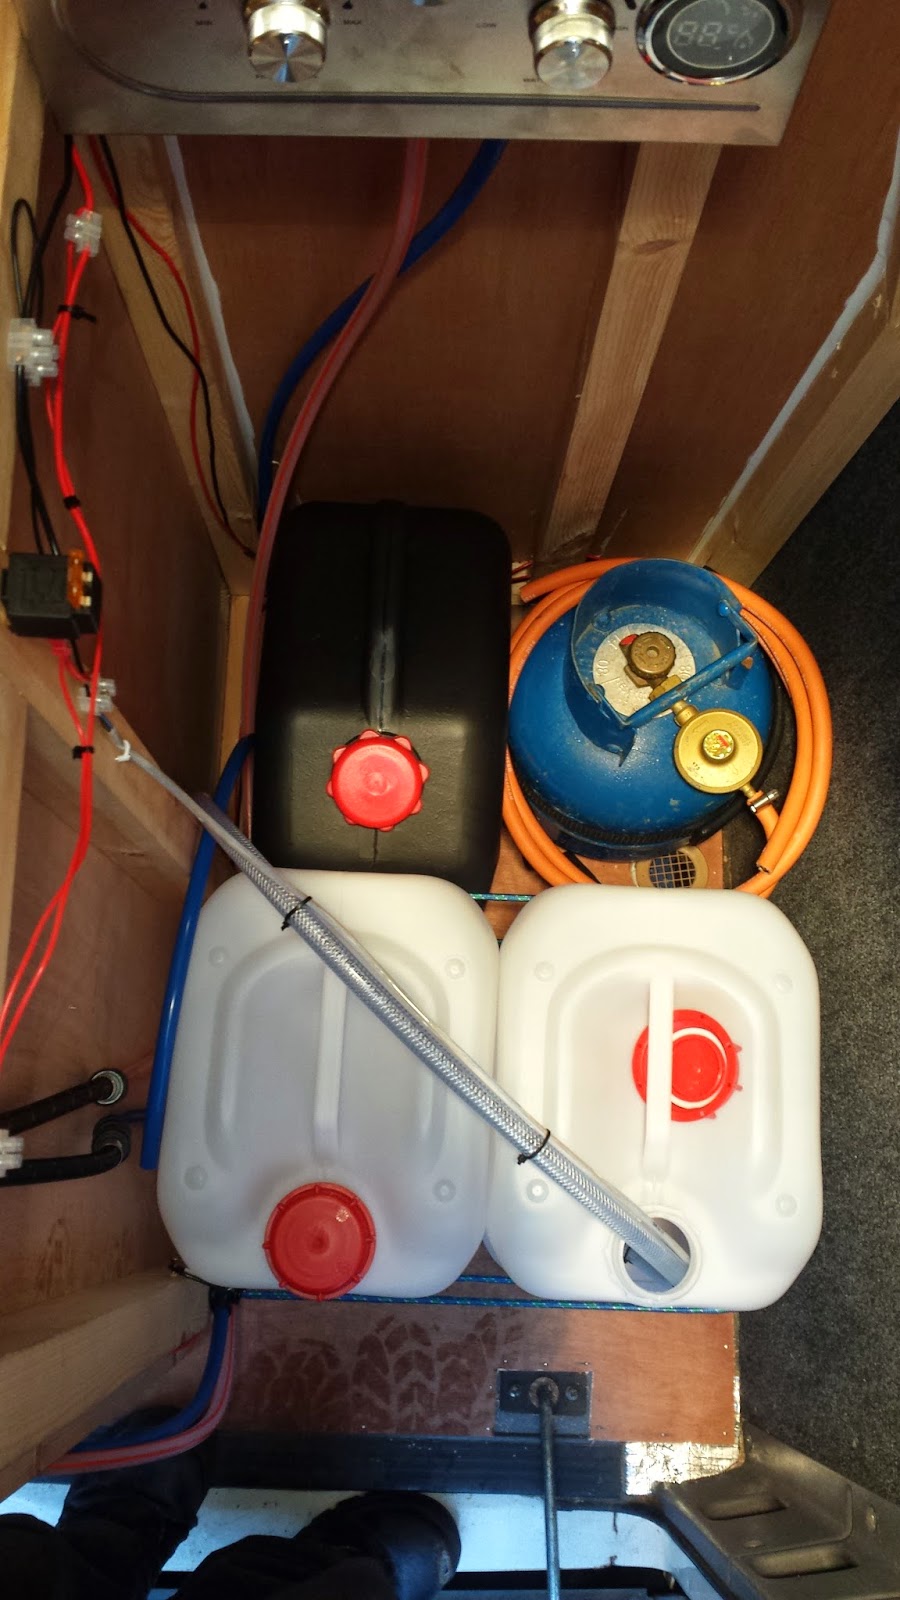
  • There must be a water storage tank or container on or in the vehicle.
  • A seating and dining area, permanently attached to the vehicle. 
  • A table which may be detachable but must have some permanent means of attachment to the vehicle. It’s not good enough to have a loose table.
  • There must be a permanently fixed means of storage, a cupboard, locker or wardrobe.
  • There must be a permanently fixed cooking facility within the vehicle powered by gas or electricity.
  • There must be at least one window on the side of the accommodation.
  • There must be a door that provides access to the living accommodation.

The bits in red are what I still need to complete.

Once I have these done, I can get the V5 sent off to have it changed to Motorhome which means cheaper insurance, cheaper MOT and depending on the final weight of it, I might get to go 70mph instead of 60!

So today I decided to build the wardrobe!

As this was going over the off-side wheel arch between the end of the sofa and the shower room, I first had to build a small platform over it, similar to what I done on for the Oven Platform


As there is the cables going over the back of the wheel arch through some ducting, I just made a small raised platform to go over that so they wouldn't get damaged.


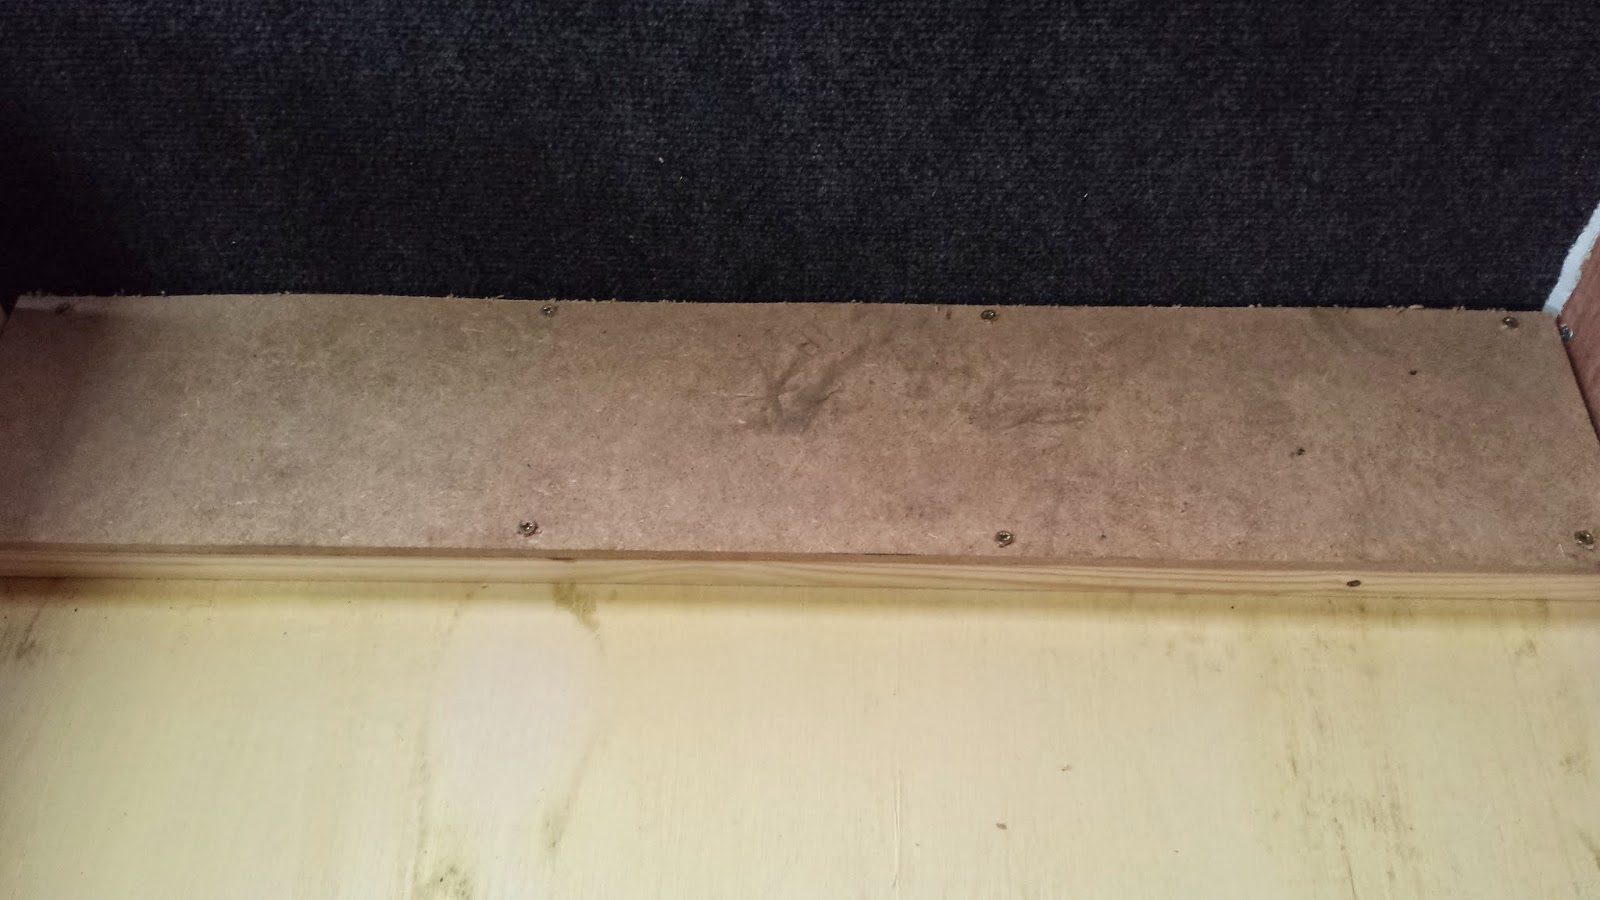
So that is the base complete, and sturdy enough even for me to stand on.. not that I will be standing about in the wardrobe!


Then I pinched the method the joiner used for The Frame and put batons up the wall, both below and then up the window.


I decided I only wanted the height of the wardrobe to be enough to hang my clothes with room for shoes at the bottom. So I measured this with some clothes on hangers and took it up enough to give me enough room.


I did consider putting it right up full height, but doing it the way I have I can then add in a couple of shelves above it for socks etc.

So as you can see above, I made the side frame walls and then secured them with two bits going across to support the roof of it.


I'd already decided am going to finish it the same way I will do the rest of the partition wall/frame, so I was just going to use 6mm ply for now to cover it.


One thing I noticed when putting the last piece on the side, is I will need to shave a bit of wood off from the sofa/bed frame so it lifts up as it just catches the ply at the moment.


So that's it done, am probably not even going to put doors on it as can't be arsed with hanging them, and will probably just go for a curtain over the front in the same material am using for the curtains.


Thursday 27 November 2014

The Sockets

Plug In Baby

I did plan on getting an electrician in to install the 240V stuff, but decided am only putting in 1 x Double Socket and 1 x Single Socket, so to save a few quid I did it myself.

The double will be for general use, probably just a laptop or similar and the single will be for the fridge.

I bought some 3 core flex Arctic cable, and also a 16A MCB as the 32A I had with mine was too much for what I needed.

Decided to put the double socket at the end of the sofa/bed frame, facing the door. This will allow me to plug stuff in easily, for example my laptop/phone and have easy access to it.


As you can see above, the wiring comes from the CU and runs round past the batteries to the end panel.

Then I cut a hole in the ply for the socket, you can see in the 2nd photo below that it is just held in with tape. 


This is due to me glueing a supporting frame on the back of the ply to help strengthen it, and it is still too loose to screw into.

I then started the cable for the Fridge socket at the CU, wired up as below


Then I just ran it along the back of the sofa/bed frame, this can be hidden away if need be at a later date.


I then had to get the cable across to the kitchen, I didn't want to go up and over the sliding door, so just decided to go across the step. 
Using some cable ducting, I just screwed this to the step and ran the cable across.


It's not ideal, but will do for now.. I may change this at a later date if the cable/duct annoys me.

So then it just had to go across a little bit, again this will be tidied up later once I put the final flooring down.


Then I just had to attach the socket to the plywood wall and wire up the socket.


Wednesday 26 November 2014

The Gas

Cooking It Up

Wasn't looking forward to doing this really, but just had to get on with it.

I started off by making up a couple of pipes just to get used to cutting the pipe and fitting them together.


I then started from where the Gas Bottle is located, and the first appliance to get connected was the oven. 

This needed a T Piece and then a straight pipe up to the oven.


Pretty much next to that, I needed another T Piece and pipe to go up to the Smev unit which you can see in the above picture too.

Below shows the pipe for the oven with a connector between them.


The pipe for the Smev then went up and had a 90° bend in it to take it towards the hob inlet pipe.

I then put a angle piece in which connected it straight on.


After that, I continued on from the main pipe and put it along to the fridge inlet, again putting a bend in to take it to the correct place.


With all that done, I then went back to where the gas bottle was, and put a connecting piece on, and secured that on to the hose with a jubilee clip, and then secured to the wall with a P clip.


I made sure I left enough spare hose to allow easy changing of the gas bottle when required.


So with all 3 appliances now connected up, I just had to give them all a quick test.

First up, the oven. I had to light this with an electronic spark wand, not sure if it should have built in ignition, will research that but at least it worked.


I then tested the fridge, on this model you need to turn the gas up high and hold it in, then push in the electronic ignition a few times till it ignites.

You can check its on through a small circle window down the bottom of the fridge.


Finally, the one I was looking forward to seeing on the most.. it will also be the most used one too.


So all of them work, I still have to test the connections for leaks, but will do that once I've finished putting the waste pipes for the sink in as might need to disconnect the oven to do so.
I will also secure the pipes using P clips to the woodwork where possible.


Link to Photo Album

Tuesday 25 November 2014

The Tanks

Keep It Fresh

Initially I was going to put a large water tank under the back end, where the Ratcliff currently is. I haven't been able to get a buyer for it, or been able to remove it as yet though.

Also the cost of putting a custom made water tank with fittings is out at the moment anyway, so for now I have decided to go down the jerry can route.

I ordered 2 x 25 ltr fresh water containers, this will allow me to go several days without having to refill.

When I ordered them, I didn't measure the space I planned for them, so thankfully when they arrived today, the fitted perfectly.


Still space for the Gas bottle to fit

To secure them in, I just put 2 screws into each side of the frame next to them, and used a couple of bungee cords I had lying about in the loft in the camping kit.


As you can see, they fit nice and snug and even leaves a space at the back of them for a waste container if I ever need to use that dependant on where I am sited at the time.


And the pump tucks nicely into the bungee cords when not in use to save it getting damaged in transit


Sunday 23 November 2014

The Wiring

Fuse Box to Panel

I said earlier on The Panel blog that I was using the air con duct for going up from the fusebox to the panel.


First lot of wiring done last week

One spare switch for future use if need be

Now I had done all the wiring that was going up to it, I had to make sure it was all working and then tidy it up with cable ties.


Labels added to I know what each circuit is

So the wires go along from the panel, and down the ducting just behind the drivers seat.


Then come out at the bottom and then run along to the fusebox, using a few cable ties to make it neat.


I also ran a spare + and - cable up from the fusebox and along past the panel to the just behind the passenger seat. This will be used for a TV to be added at a later date.

And then I put the duct covering back on and the board the panel is mounted on.

Quick final check to make sure they were working, thankfully they all do... job done!


Saturday 22 November 2014

The Pump

Water Power

This was going to be a bit more complicated!

Mainly due to me being advised to use a relay to operate the pump/taps, I had no idea even what a relay was till I did some research.

Thankfully, some kind soul explained it all to me.
And I did it, wrongly the first time and it was my own stupid fault for not paying attention.

Basically I put in extra - wires in where I shouldn't have, so the switch wasn't working as it should, and when I turned a tap on it blew a fuse.

Anyway I was mounting the relay close to the taps, this was using a thicker 4mm2 cable as it had a longer distance to go and a higher amp required.


I ran the cables round the same route from the fusebox as the Toilet Wiring, and round to the back of the wetroom.


The wiring for the pump and two taps was pretty complicated for me, even though I had it explained and a diagram done, which looks like this


Anyway, I need to fix the mistakes I made, which I will do tomorrow and then update this blog.. all going well anyway haha


Update 23/11/14

So after going back over the wiring and fixing yesterdays mistakes, I got it to work correctly.

This is what I had done yesterday, basically I had added in a - wire from both taps and the relay/pump that wasn't required. Totally wrong lol


And after re-wiring it, and testing it out, it worked fine. Both taps turn on the pump when opened, and when switched off at the control panel, they don't.


Am just waiting on a connector now to connect the water pump hose to the water pipes, and a brass fulham nozzle to connect the gas bottle hose to the boiler then I can test it all out.


Link to Photo Album